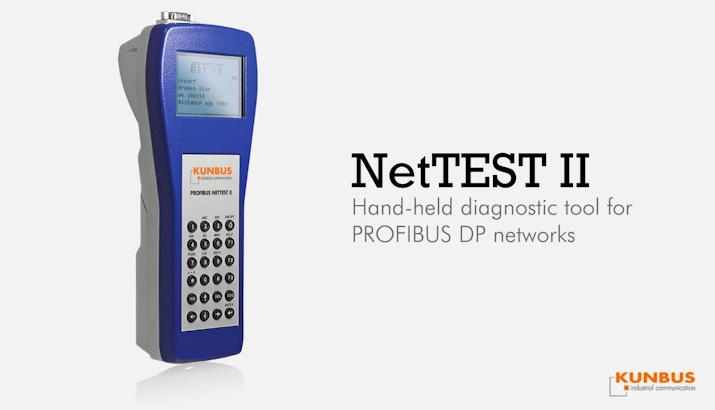
The Nettest II is one of those tools that our PROFIBUS Engineers ensure that they have with them when going on a PROFIBUS callout. It’s particularly useful as a pre-commissioning device to quickly test a section of newly assembled PROFIBUS cable before using it.
It’s amazing how easily installers can swap the A and B lines, leave off a termination, create a short between the lines or shield or forget to attach the shield in a connector.
If the cable passes the Nettest II Line Tests, you can be confident that the cable will work reliably in your installation. You can also view signal strengths, view a live list and monitor statistics, but did you know that you can change the address of a device?
We occasionally get asked: “How can one change the address of a device that has no rotary dials or dip switches?” The answer would be to use a Class 2 Master. However, a technician on a night shift might need to replace a piece of equipment, and can’t, because they do not have access to a computer running software with Class 2 Master functionality.
With a Nettest II, it’s possible to do it by using the following steps:
On the main menu:
> Select “Line Test”.
> Select “Profibus Master mode”.
> Select “Extended Master”.
> Select “Master Parameters” and set these up to match the segment to which you are attached (i.e. baud rate = 45.45kb if connecting through a Siemens coupler).
> Press “Enter” when done.
> Select “Config. with livelist” and press “Enter” to delete Device Definitions.
Once all of the devices have been found press enter to terminate and enter again to begin the ident number capture:
> Once this is complete press enter to return to the Extended Master Menu.
> Select “Device Menu”.
> Select “Process Device ”.
> Select the device whose address you wish to change.
> Select Single DP Services.
> Scroll to and select “SET_DEVICE_ADD_REQ”.
> Scroll to the new address and press “Enter”.


